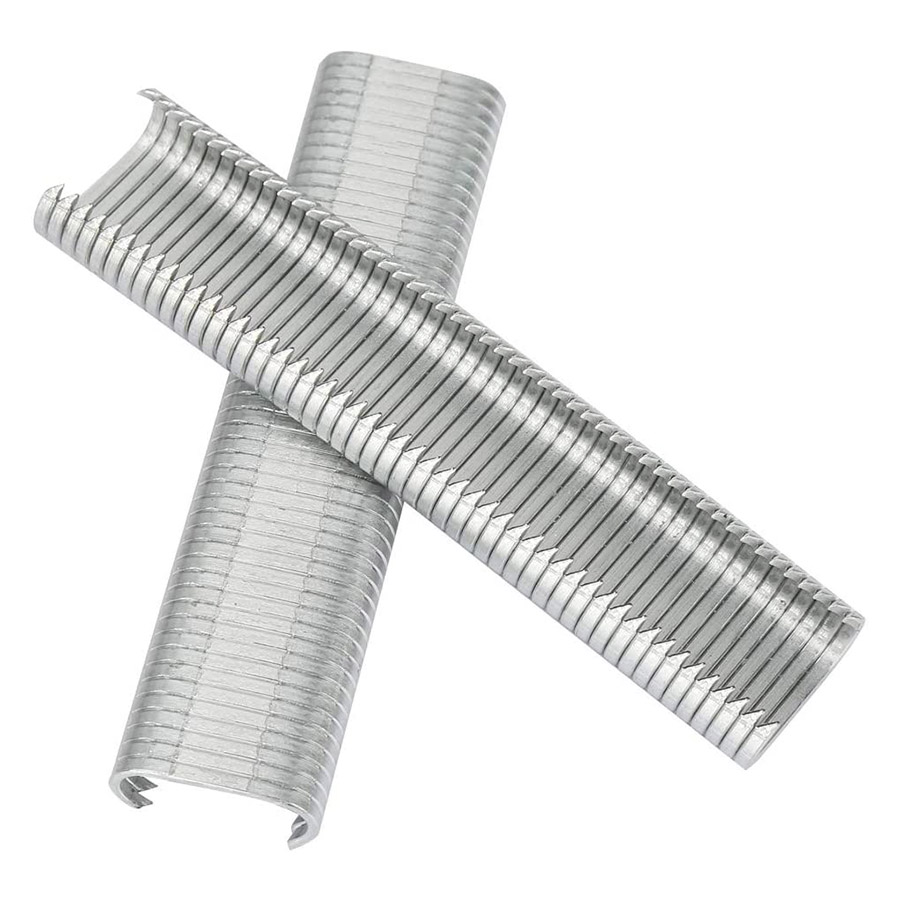
16 Gauge Pneumatic Staple Gun 1 in. Wide Crown N5024
● Uses wide 1″ crown staples from 5/8″ – 2″ in length ● Lightweight and well-balanced for easy of maneuverability and less user fatigue. ● Cylinder valve firing mechanism provides quick response and rapid driving. ● Tool-less depth adjustment for quick changes to countersink or flush drive into a variety of materials. ● High capacity magazine hold 150 staples for fewer replenishments. ● Rubber grip provides comfort and ensures a secure hold. |
| Model: | 16 Gauge Pneumatic Staple Gun 1 in. Wide Crown N5024 |
| Air Tool Type: | Air Stapler |
| Tool Diamensions: | 360mm x 76mm x 254mm (14-1/4″x10″x3″) |
| Net Tool Weight: | 2.51kgs(5.53 lbs) |
| Body Material: | Aliminum Body |
| Operate Pressure: | 70-120psi (5-8.3bar) |
| Load Capacity: | 150 staples |
| Staple Type: | 16 Gauge Senco Wide Crown Staple |
| Staples Shank Diameter: | 0.063″ x 0.055″ (1.6mm x 1.4mm) |
| Staple Crown: | 1″(26.4mm) |
| Staples Length: | 5/8″(16mm)-2″(50mm) |


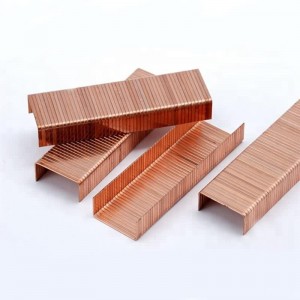
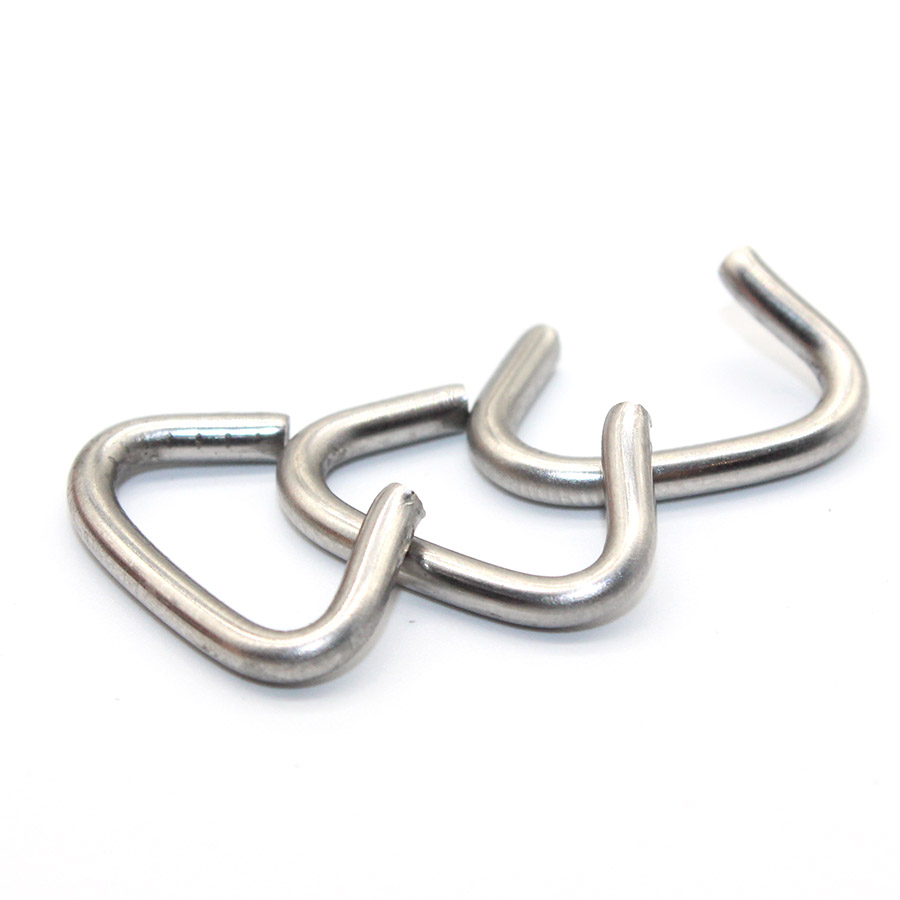
16 Gauge 1 in. Wide Crown Staple Staples Shank Diameter:0.063″ x 0.055″ (1.6mm x 1.4mm) Staple Crown:1″(26.4mm) Staples Length:5/8“(16mm)-2″(50mm) |
 Confortable rubber handle and ergonomic gun body design for easy operation.
Simple internal structure for easy maintenance application.
Bostitch wire crown with aluminum magazine.
Quick-release nosepiece for clearing jam.
Depth adjustment engineered for more precise flush and countersink finish.
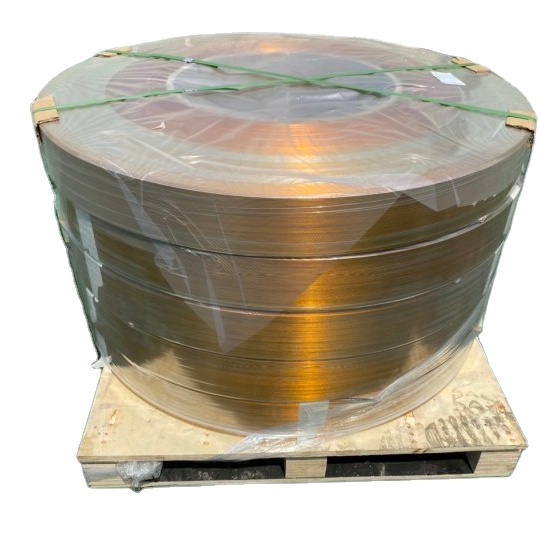
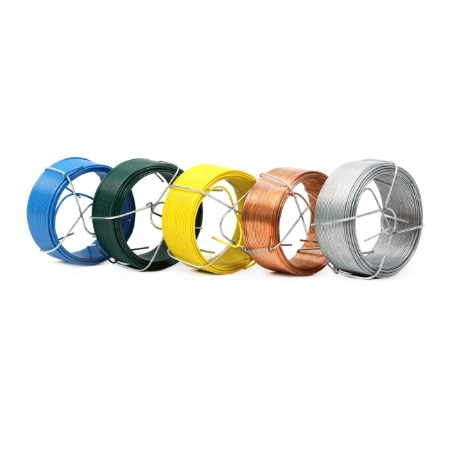
Wire lathing
Insulation sheating
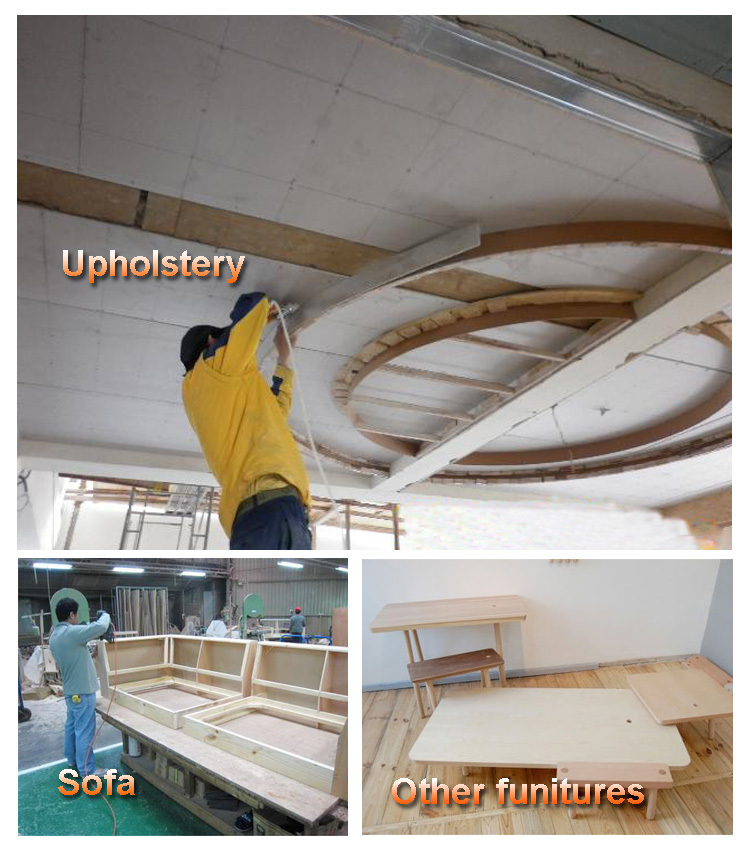
Furniture industry.
Interior construction.
Cabinets,
Packaging.
| No. | Symptom | Problems | Solutions | |
| 1.1 | Air Leak | Air leak in the cylinder cap when tools don’t work | 1.Loose head valve piston seal or o-rings . | Check and replace the head valve piston set |
| 2.Worn or damaged o-ring or cylinder cap gasket under cylinder cap | Check and replace o-ring or cylinder cap gasket under the cylinder cap | |||
| 1.2 | Air leak in Trigger area when tools don’t work | 1.Damaged o-ring in trigger valve | Check and replace o-ring | |
| 2.Damaged o-ring in trigger valve stem | Check and replace o-ring | |||
| 3.Dirt in the trigger valve | Check and clean the trigger valve | |||
| 1.3 | Air leak in cylinder cap when tools are working | 1.Damaged head valve piston o-rings | Check and replace o-rings | |
| 2.Damaged seal under cylinder cap | Check and replace seal | |||
| 1.4 | Air leak in nose when tools are working | 1.Worn or damaged bumper | Check and replace bumper | |
| 2.Loose driver(piston unit) thread | Check and replace driver(piston unit) | |||
| 1.5 | Air leak in Trigger area when tools are working | 1.Worn or damaged trigger valve head | Check and replace trigger valve head | |
| 2.Damaged head valve piston o-rings | Check and replace head valve piston o-rings | |||
| 2 | Failed to get driver(piston unit) back to the correct position completely. | 1.The driver(piston unit) is not straight or the driver guide(nose) is wrong assembled. | Straighten the driver(piston unit) or verify driver guide(nose) and magazine | |
| 2.Worn or damaged nozzle | Check and replace nozzle | |||
| 3.The space between piston o-ring and cylinder is too tight. | Check if the cylinder is adequate lubrication or replace the o-ring on the piston. | |||
| 3 | Work weakly and sluggishly | 1. Worn or damaged piston o-ring | Check and replace piston o-ring | |
| 2.Inadequate lubrication for head valve piston o-rings or too tight head valve piston o-rings | Place 2 or 6 drops of oil on o-rings or replace head valve piston o-rings | |||
| 3.Dirt in the nozzle | Check and clean the nozzle | |||
| 4 | Tool jams frequently | 1.Damaged or Worn driver (piston unit) | Check and replace driver (piston unit) | |
| 2.Damaged or Worn driver guide (nose) | Check and replace driver guide (nose) | |||
| 3.Driver guide cover is bent,so the space between driver guide cover and driver guide is too big | Check and replace driver guide cover | |||
| 5 | Nail can not be shot | 1. Driver (piston unit) can’t return to the correct position. | Refer to no. 1 Symptom | |
| 2.Driver guide(nose) can not match magazine well | Check and correct the position between driver guide(nose) and magazine | |||
| 3.Worn or damaged nail pusher compression spring | Check and replace nail pusher compression spring | |||